Brief intro to Sales & Billing
This is a brief introduction to the main concepts in Groobix' "Sales & Billing"
Customers, Products and Bills
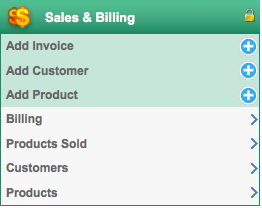
There are three main concepts in "Sales & Billing":
- Cutomers: These are - obviously - your clients. The people or companies you sell to. You must register your customers before being able to bill them.
- Products: These include the products and services you sell. They must also be registered in your system before being able to sell them.
- Bills: These are mainly the invoices you send to your customers. They might also be Credit Notes.
Add a Customer
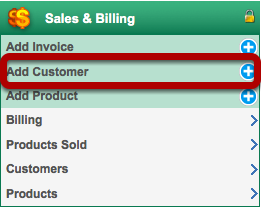
You can add your customers to Groobix with the option "Add Customer".
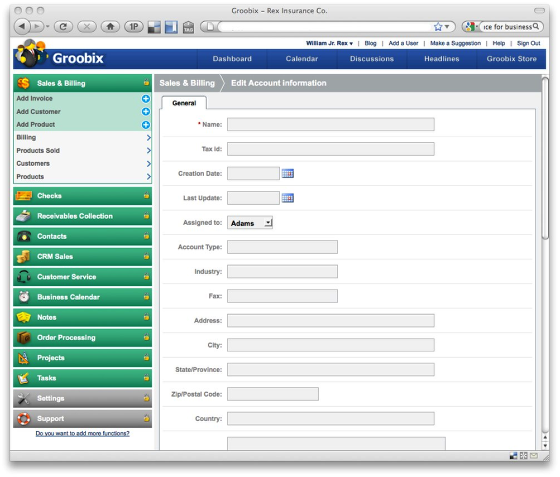
Fill in the form with you new customer's data.
Your Customer List
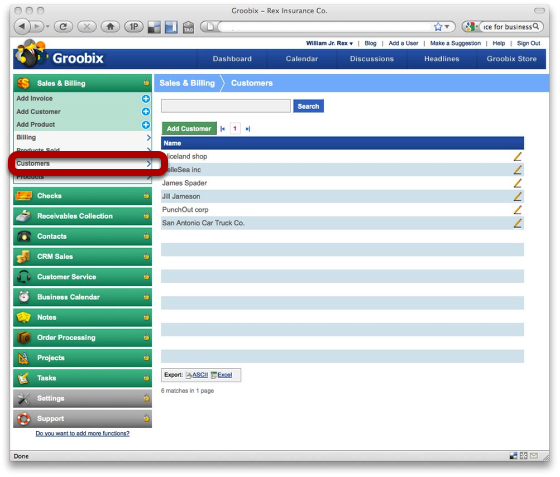
Choose "Customers" in your "Billing & Sales" module, to see all the customers you have already registered.
Here, you can also add new customers, or update the information for the one's you have already recorded.
Adding a Product
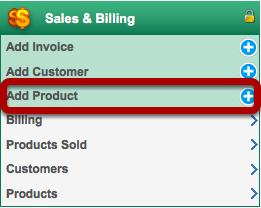
You can add a new product whenever you want, using the option "Add Product"
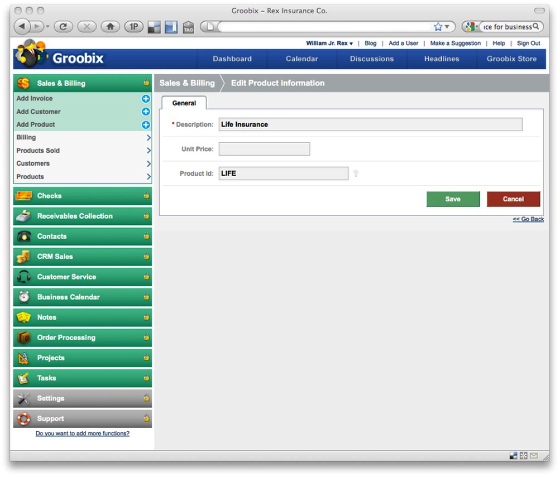
Just fill in the form with your new product's basic info.
Your Product List
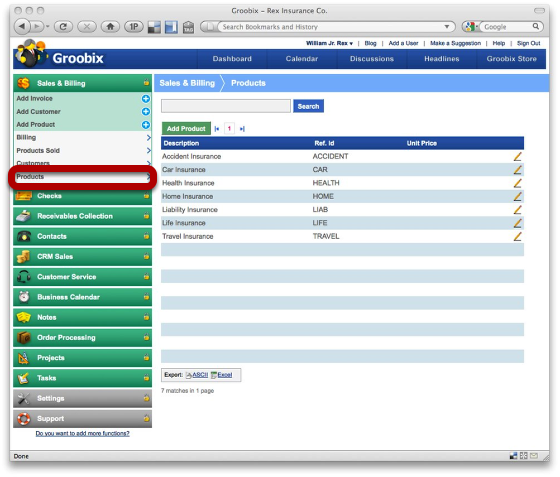
Choose "Products" in "Sales & Billing" to see and manage your product list.
On this page, you can add new products, or update the info on your current products.
Relax, you don't have to insert all your products at once. You can add them later, at any time, even when you are preparing your customer's invoices.
Creating an Invoice
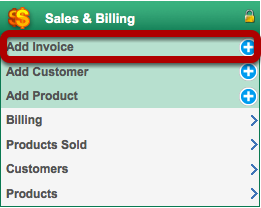
To begin creating an invoice, just click on "Add Invoce"
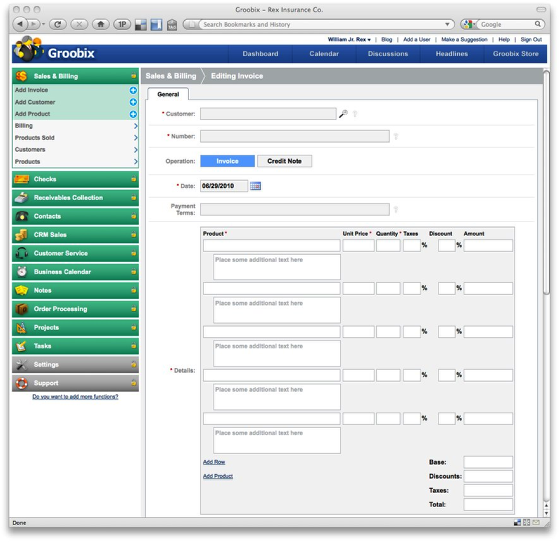
Fill in the form with your invoice information:
- Customer: type the fist few characters in your customer's name. Groobix will show up a list for you to choose.
- Number: this is your invoice reference number. (it can also be a Credit Note). This number shouldn't repeat itself, so you don't end up with two invoices with the same reference number.
- Operation: use this field to mark this document as an Invoice or a Credit Note.
- Payment Terms: any text you would like to include in your invoice, to notify your customer about it's payment terms and conditions. e.g.: net 15, net 30, etc.
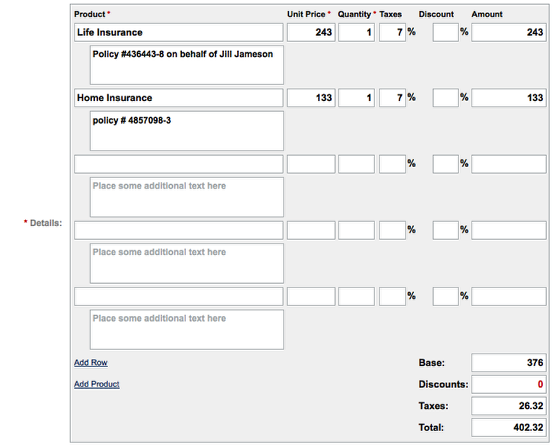
- Details: this is the "heart" of your invoice. All the goods and services you are selling must be included here. Use one line for each product/service. You must select a product in your product list, by typing the first characters in the product's name.
If the product you are looking for, still hasn't been included in your list, you can add it right here, by clicking on "Add Product"
Maybe you also need to add some text "by hand" to describe some of the items in your invoice. You can do it in the "addional text field" below each of the "product" fields.
Add Row: Use this option if you need to create an invoice with more than 5 items. You can add up to a maximum of 30 items per invoice.
Remember to fill in, for each product line, it´s unit price, quantity, taxes and discounts.
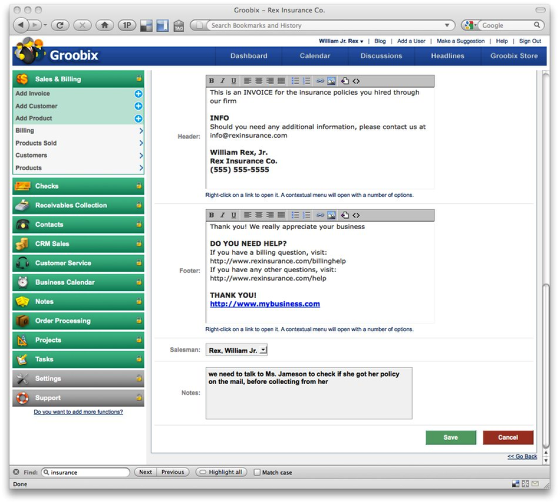
- Header: enter here all the info you wish to include at the top of your invoices. Once you enter this information, it will be saved in Groobix, so you don't have to type it again in future invoices. You can change it as many times as you want.
- Footer: works in the exact same way as Header. This text will appear at the bottom of your invoices.
- Notes: this information doesn't appear in the invoice, it's for internal use only.